Imatest can correct for nonuniform illumination and lens response (vignetting) in Imatest modules that analyze grayscale and/or color charts, including Color/Tone Setup (formerly Color/Tone Interactive), Color/Tone Auto (formerly Color/Tone Auto), Colorcheck, and Stepchart. Nonuniformity correction involves reading and specifying a second image, taken from a flat-field target (plain gray or white) under identical conditions to the test image.
 Note that the correction described in this page is not the same as nonuniformity correction for slanted-edge MTF measurements. Not also that Color/Tone Interactive (a highly interactive module) and Color/Tone Auto (a batch-capable fixed version of Color/Tone Interactive) are recommended for new work. Colorcheck and Stepchart are older, less versatile modules that will be maintained because they have a large user base.
Introduction
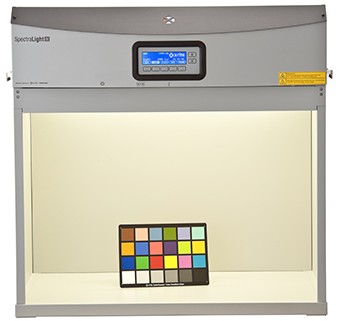
Imatest test images are often unevenly illuminated, sometimes because the test setup is inadequate (because of limited space or non-optimum lighting). Many widely-used viewing booths, such as the one shown on the right, are not uniformly illuminated (they're visibly brighter on the top).
This nonuniformity can be worsened by vignetting (light falloff), which is especially prominent in wide-angle lenses. A good example of systems with serious nonuniformities is medical endoscopes with built-in illumination. There is usually a strongly falloff from center to edges, and it isn't always nicely symmetrical around the center of the image.
Here is an example of a non-uniformly illuminated image.
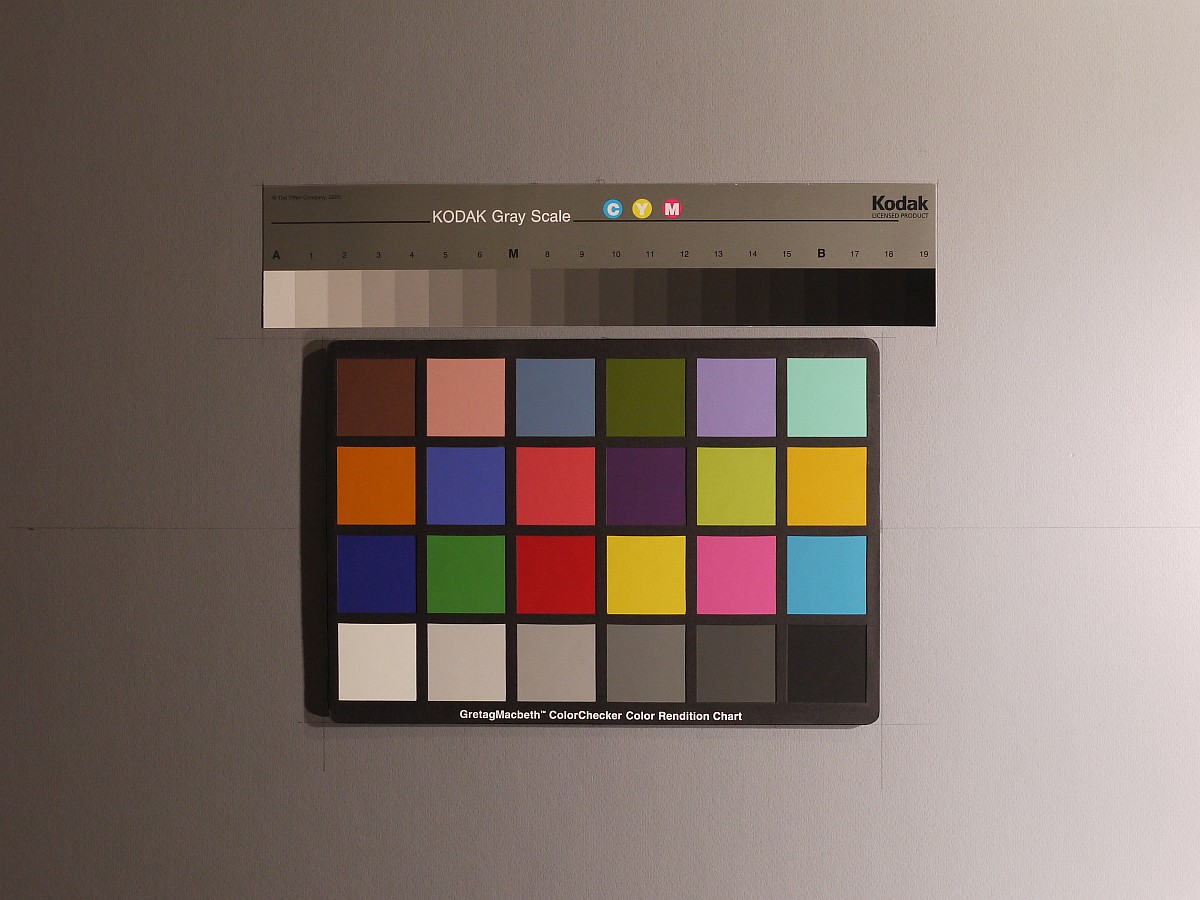 Q-14 and X-Rite Colorchecker image, unevenly illuminated
Click on this image (and the next) for a large downloadable version.
The uneven illumination (intentional in this case, but usually accidental) will have an adverse effect on measurements.
Correcting nonuniformity
Several Imatest modules— Color/Tone Setup (formerly Color/Tone Interactive), Color/Tone Auto (formerly Color/Tone Auto), Stepchart, and Colorcheck— can correct for this nonuniform illumination by using an image of a flat-field target taken under identical conditions as the test target. If possible, the flat image should have a similar surface to the test target (often matte, sometimes luster or semi-gloss). Here is an example of such an image.
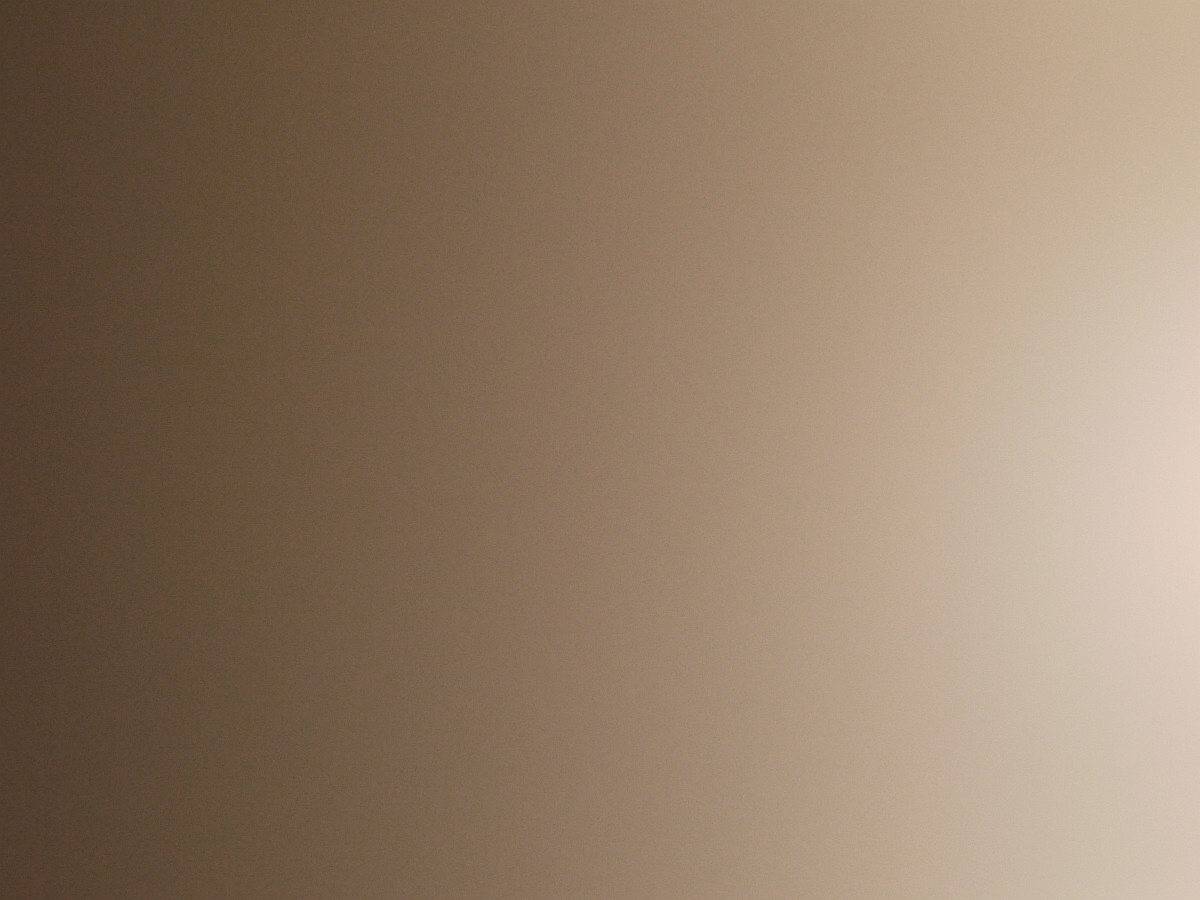 Nonuniformity correction image (of flat-field target) taken under identical
conditions as the image under test (above).
Steps to correcting nonuniformity
- Photograph and save the nonuniformity correction image.
- Open the module for the chart to be analyzed, then read in the test image.
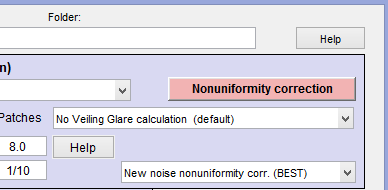
- In the Settings window, click on the Nonuniformity correction button, located as shown below.
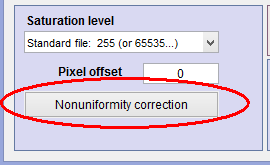 Color/Tone Interactive lower-left | Color/Tone Auto middle-left | |
 Stepchart upper-right Stepchart upper-right | 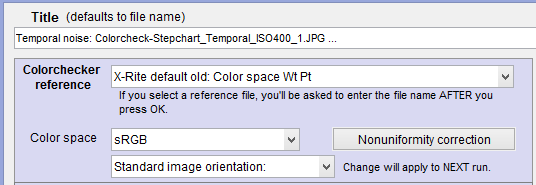 Colorcheck upper-left Colorcheck upper-left |
- This opens the Nonuniformity correction window, shown below.
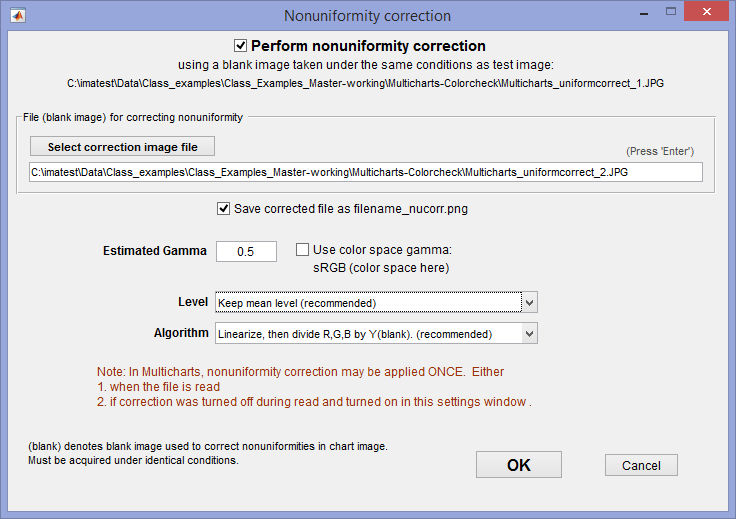
- Check Perform nonuniformity correction to turn on the correction. Select the nonuniformity correction file. Enter the Estimated gamma, recalling that the nonuniformity can affect the uncorrected gamma measurement. The estimate does not have to be precisely accurate. We recommend the standard Level and Algorithm settings shown above.
- When the settings are complete, press OK. The background of the Nonuniformity correction button will be displayed as a color (and remain colored until you uncheck the correction. Press OK in the settings window.
In Color/Tone Interactive we recommend setting nonuniformity correction (by pressing the Settings button) before reading an image. After you've read an image changing the nonuniformity correction setting doesn't work well. We recommend changing the setting, then rereading the image.
| Algorithm The image is first linearized using either the color space gamma value or a value you enter. Remember that measured gamma might be inaccurate for nonuniform images. The gamma estimate does not need to be precise. With the default (recommended) algorithm, the R, G, and B pixel values are divided by the Y (luminance) of the smoothed Nonuniformity correction image. You can also use other division algorithms. Gamma is then reapplied to give the corrected image. |
Here are some results with nonuniformity correction off and on.
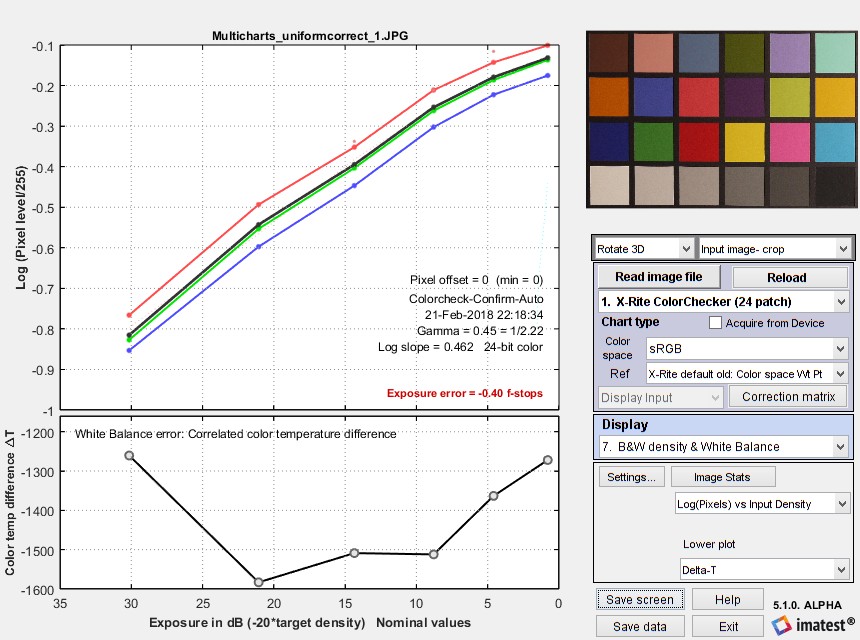 Color/Tone Interactive Colorchecker results, showing density (OECF) plot. No nonuniformity correction.
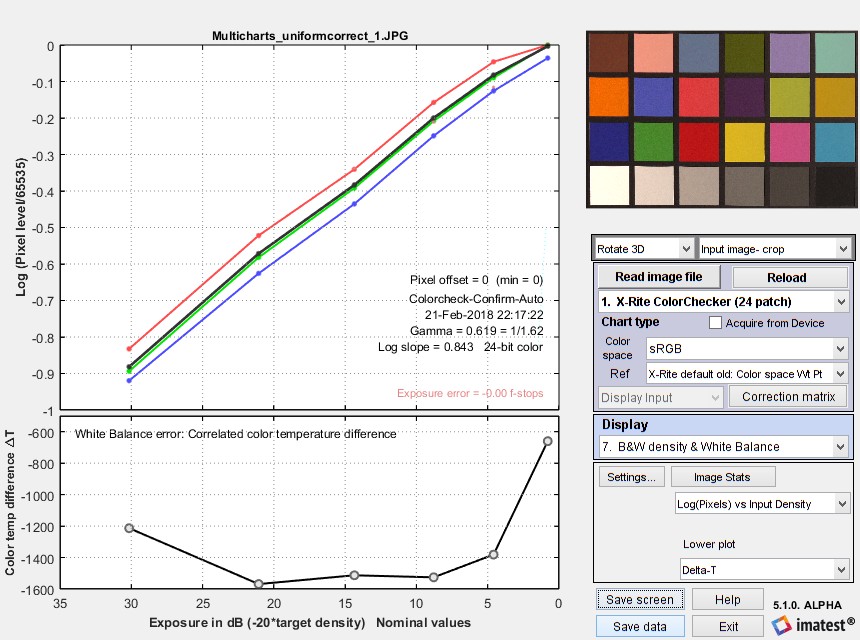 Color/Tone Interactive Colorchecker results, showing density (OECF) plot. No nonuniformity correction.